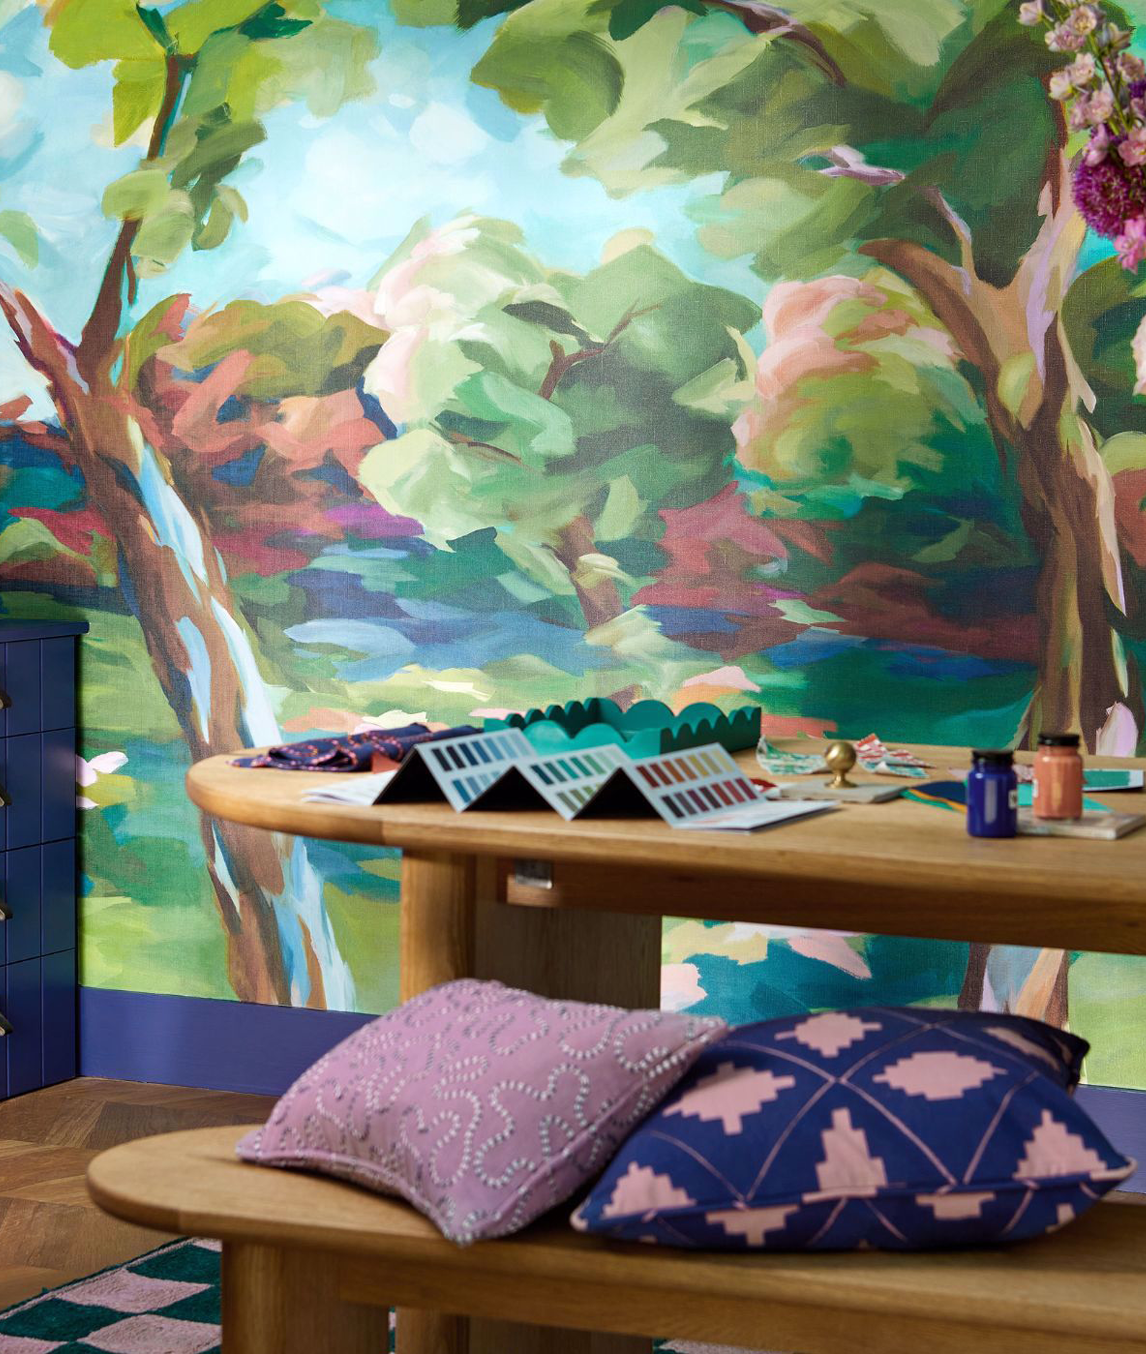
Murals in the making: hanging wallpaper like a pro
Found your perfect palette and selected the wallpaper of your empowered dreams? Hanging mural wallpaper does not need to turn into a design nightmare as we have the simplest how-to for you to decorate with confidence.
Once you’ve swooned over your joy-infused samples and placed your order, its then time to get that paper up on the wall and really start enjoying your expressive new style.

YOU WILL NEED:
In your toolkit you will need a pencil, tape measure, scraper, scissors, spatula, spirit level, snap knife, wallpaper brush, a clean sponge and wallpaper paste. We have a recommended wallpaper paste for you to use with all our Harlequin wallpaper products, which is available from many of our suppliers.
First up is the unboxing
Unpack your rolls of wallpaper and read our simple instructions on how to prepare your wall for papering.
Check the details
For some wallpaper panels you can paste the wall instead of the wallpaper. These will be specified on the instructions, so take some time to become familiar with how best to paste and hang your chosen design.
Begin to unroll the wallpaper
Your first unveiling of your chosen design and a very exciting one at that. Take your time to unfurl the paper. Be sure to number the panels on the back in pencil to use as a guide when hanging.
Paper cutting
Using your scissors, cut a length of paper. It can be really useful to measure the width of your paper and mark it up on your wall as a guide. To mark the width of the paper on the wall in pencil, use a spirit level to make a line on the wall where the width of the wallpaper will finish. This preparation takes a few moments but will ensure a simpler, more enjoyable hanging experience. It is worth it for the finished look.
Cut and paste
Paste the back of your first cut wallpaper panel with the brush. A handy tip: once you have pasted the paper, fold the wallpaper over on itself, top edge to middle and bottom edge to middle, creating a book cover effect, and allow to soak for five minutes.
It’s time to begin
Starting from the top of the wall, drop the panel, holding the top edge and smoothly paper the wall. Smooth the wallpaper out with your scrape.
Edging
Trim down the wallpaper with a snap knife and spatula at the ceiling and skirting edges then wipe away any excess paste marks with a clean, damp sponge. Repeat until you’ve completed all walls with your mural.
Ta da!
Finally, it’s time to stand back and admire your hard work.
Live in colour with confidence.
posted on 15 Aug 2023 in Interiors


